 |
|
“Sweet!”/A Logo Project–Part 5 of 5: TINSELTOWN
October 11, 2012 on 8:55 pm | By Michael | In Gigs, News | 5 CommentsPlease read Parts 1, 2, 3, and 4 of this series before proceeding!
Finally, we arrive at Tinseltown, and the last of the logos I created for Sweet!
Being the beating heart of Los Angeles, Hollywood is Tinseltown. And Tinseltown is, of course, the movies. So it’s only fitting that the Tinseltown boutique is the beating heart of Sweet! In Tinseltown you’ll find all your movie theater favorites in theater sized boxes, plus more Hollywood memorabilia and nifty trinkets than you can shake a stick at.
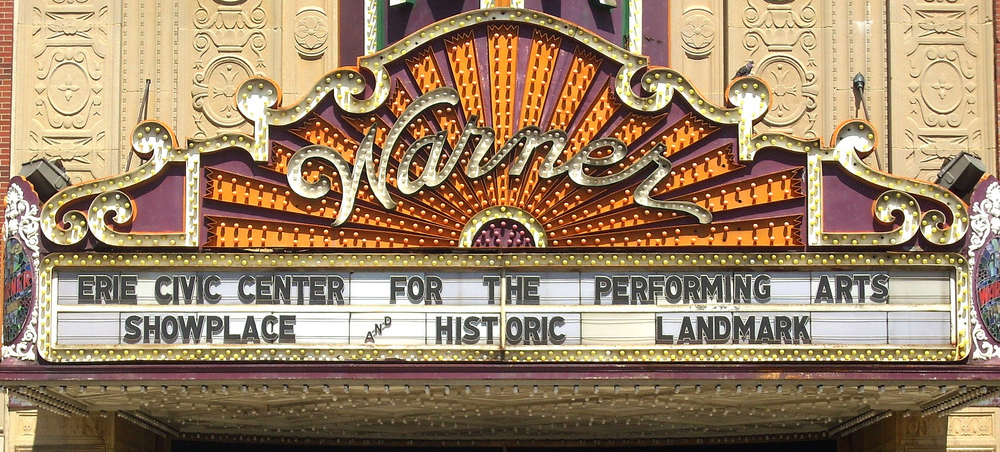
Gary felt that this logo should look like a classic theater marquee. I had an image in my head of what that might look like for this logo. But for something like this I always need do some research, to help me get the right attitude and not to just rely on my memory. There are some fantiastic theater marquees in downtown Los Angeles, but I found one that really was going in the direction I was visualizing in, of all places, Erie, Pennsylvania—The Warner:
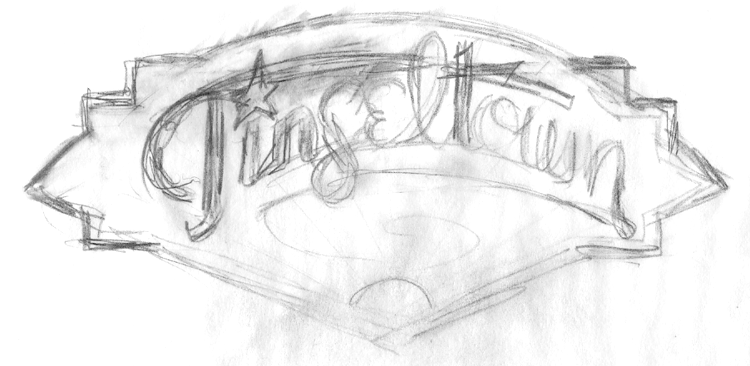
Although this marquee was a bit too intricate for my taste, and there was no neon (I must have neon!) I loved the whole sun-ray thing going on behind the letters, and decided that this marquee—although it would not be my only point of reference—it would be my main inspiration point. So I started puttin my thoughts to paper:
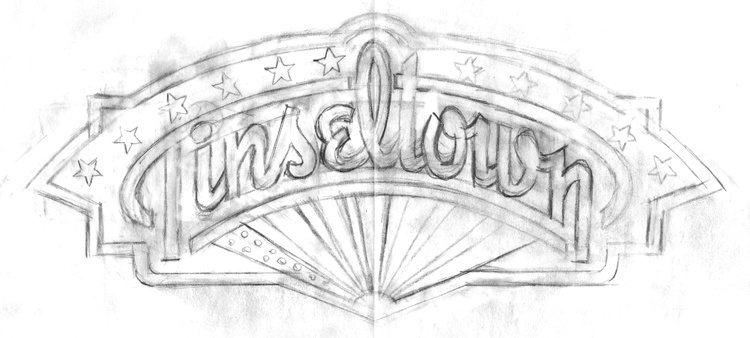
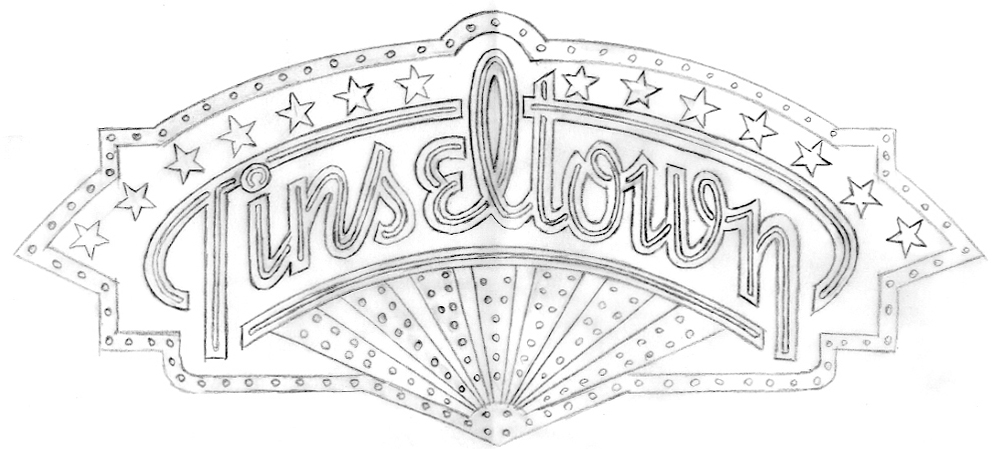
In the first rough above, I was heading in a direction, but still groping around for specifics. By the second rough, I was firmly on my way to solving the problem. And by the third rough, more or less nailed the basics of the design:
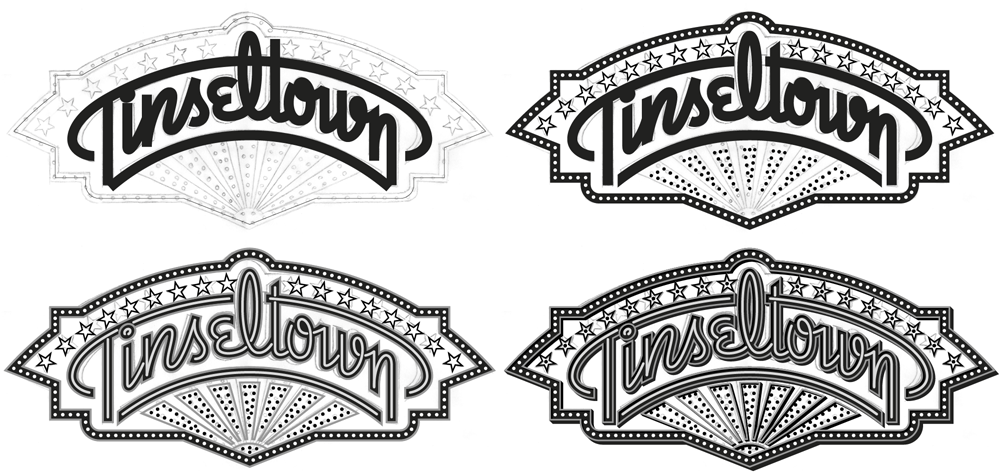
At this point, the design was approved, and I went on to build the design in Illustrator. I do it in values of gray before assigning color, just so I know that certain shapes are separating from others properly. Below I’m building the graphic over a template of the rough pencil drawing (above). To be honest there were many, many more steps than what you see depocted below, but it would be impossible to show them all, and very difficult for a viewer to decipher exactly what’s going on. Suffice it to say that I built this art in layers, and in many ways it may have been similar to building an actual neon sign:
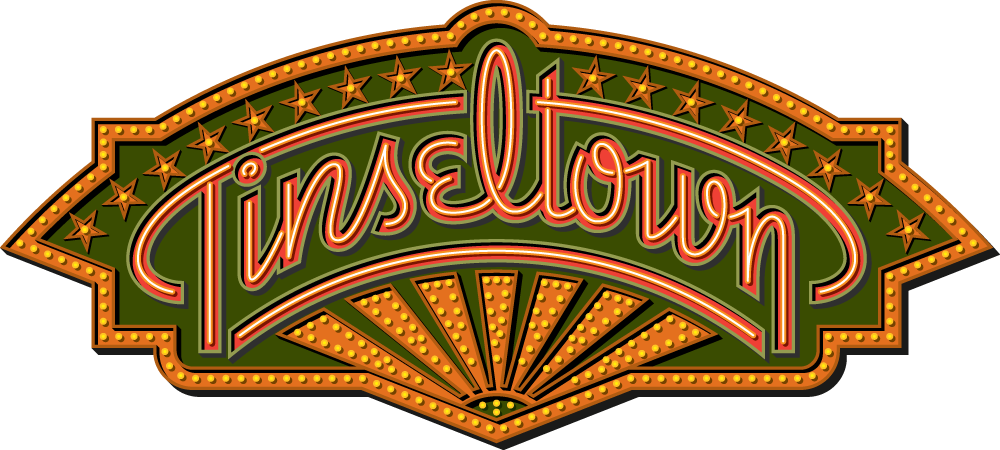
I didn’t want to literally appropriate the color from the Warner marquee, so I started doing my own color solutions, but I didn’t think they worked the way I wanted them to:
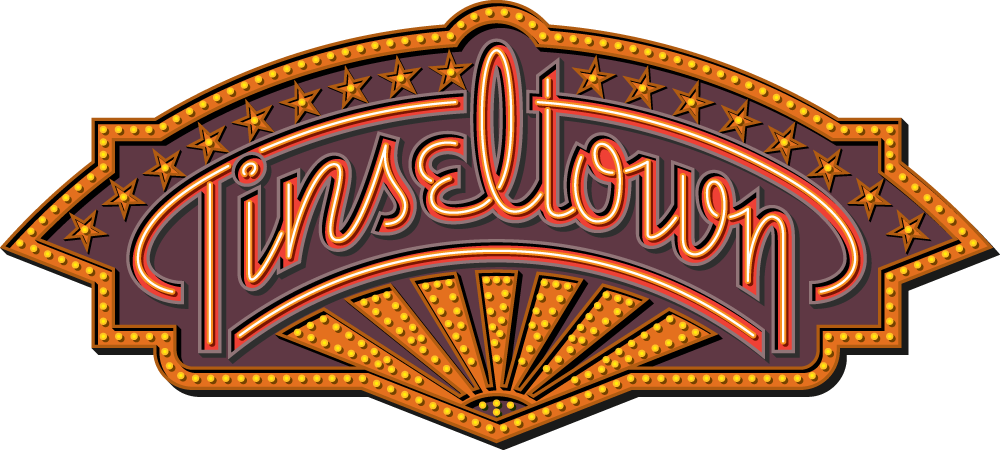
So I pretty much went back to a color palette more reminiscent of that Warner marquee:
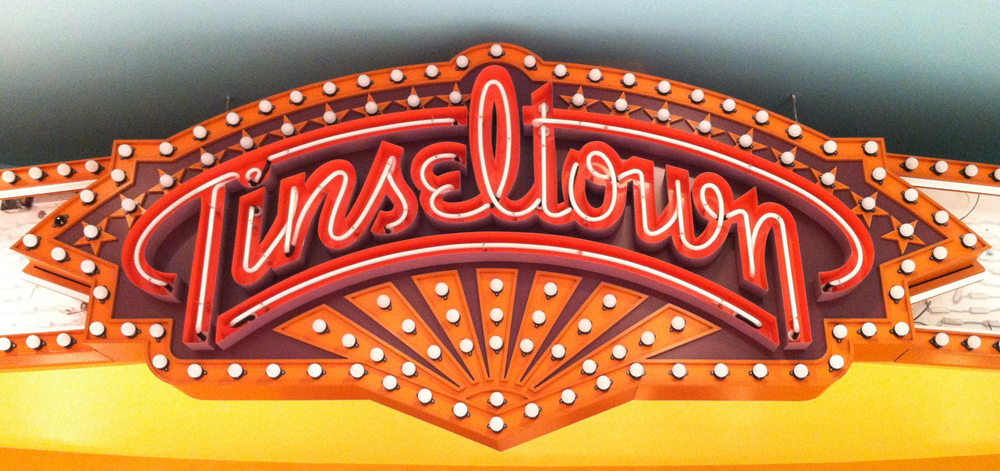
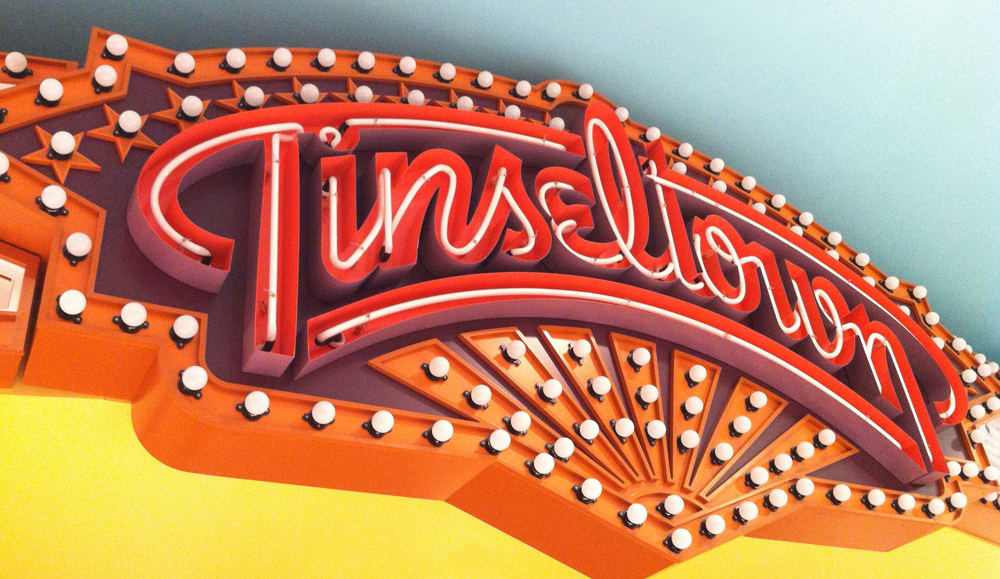
Building the art like a real sign apparently had its advantages because Gary loved the art so much that he decided to have it made into a real lifesize neon sign for inside the store.
To do this would be quite an elaborate project, and so Gary and his Store Architect Richard Altuna enlisted the services of SignMeister Robert M Fitch (who was already working on other signage in Sweet!) to oversee the implementation of this complicated project which included three types of sign illumination: chasing light bulbs, neon script and internal LED illumination. So together with Robert’s assistance I’ve put together a very abbreviated photographic synopsis of how this sign was assembled and finally installed in Sweet!. I think the sign really turned out well, and ended up looking surprisingly close to my graphic.
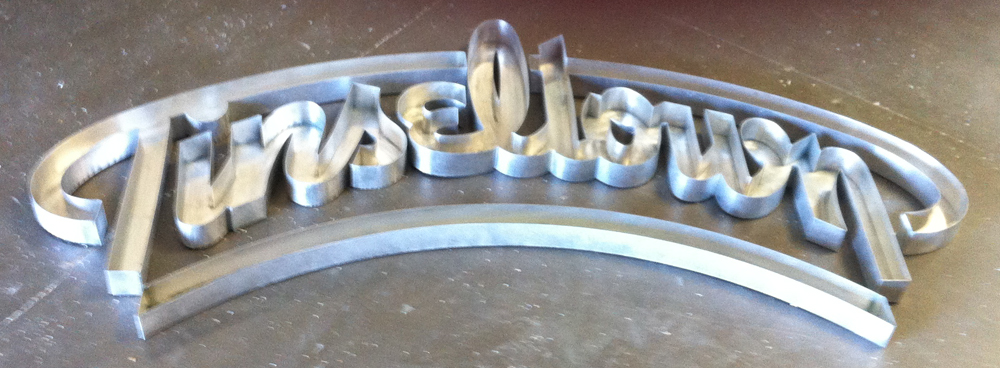
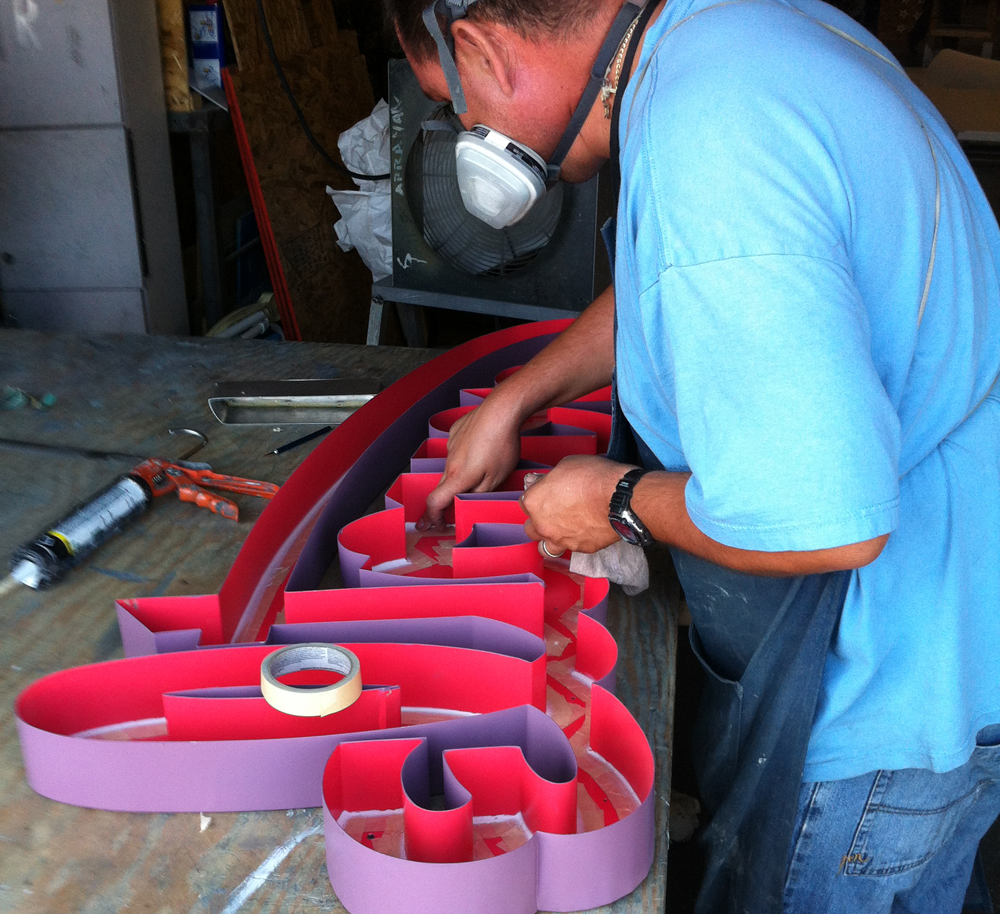
This is what’s called open face channel lettering which, in the case of a connected script type, becomes a “sign can” which defines the letterform and houses the neon. It’s constructed from sheet metal, the returns (sides) are hand formed and welded to the letterform back plate. My Illustrator vector art was used to cut out the basic shapes. As in my art, the letters were formed out of only four separate pieces:
Robert specified different colors for the inside and the outside of the can lettering. Here the different planes of the letters are being masked off and painted:
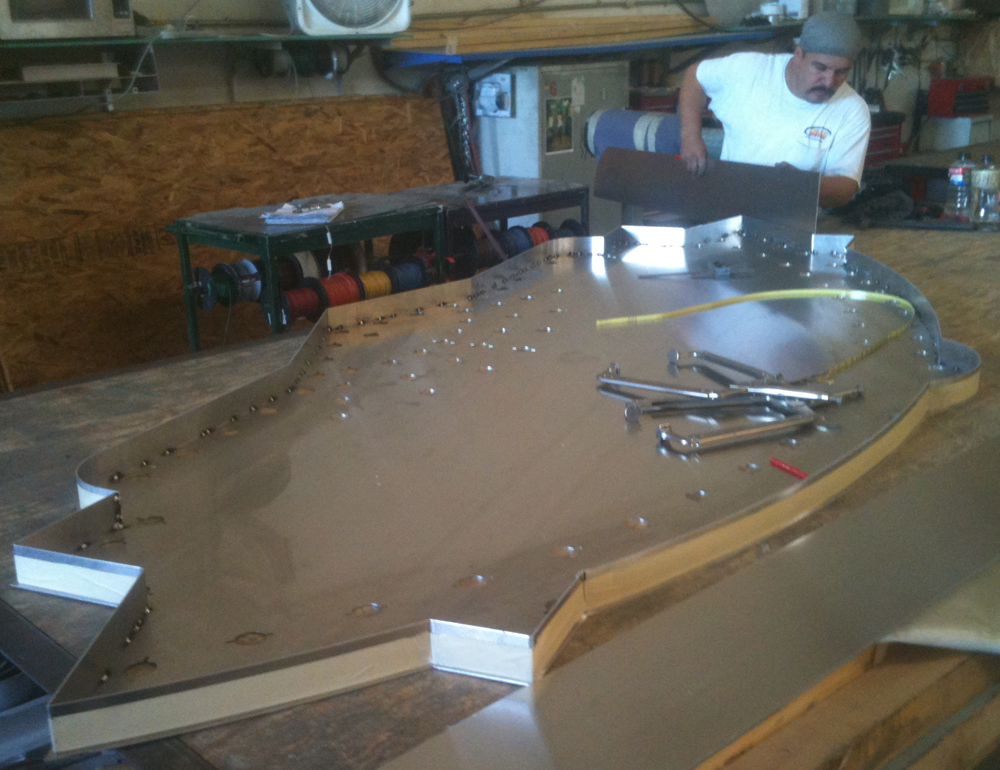
Here the sign box in which everything goes is being created. The sheet metal sides are being pieced together, and you can see some of the specialized tools—the sign hammers—in the foreground:
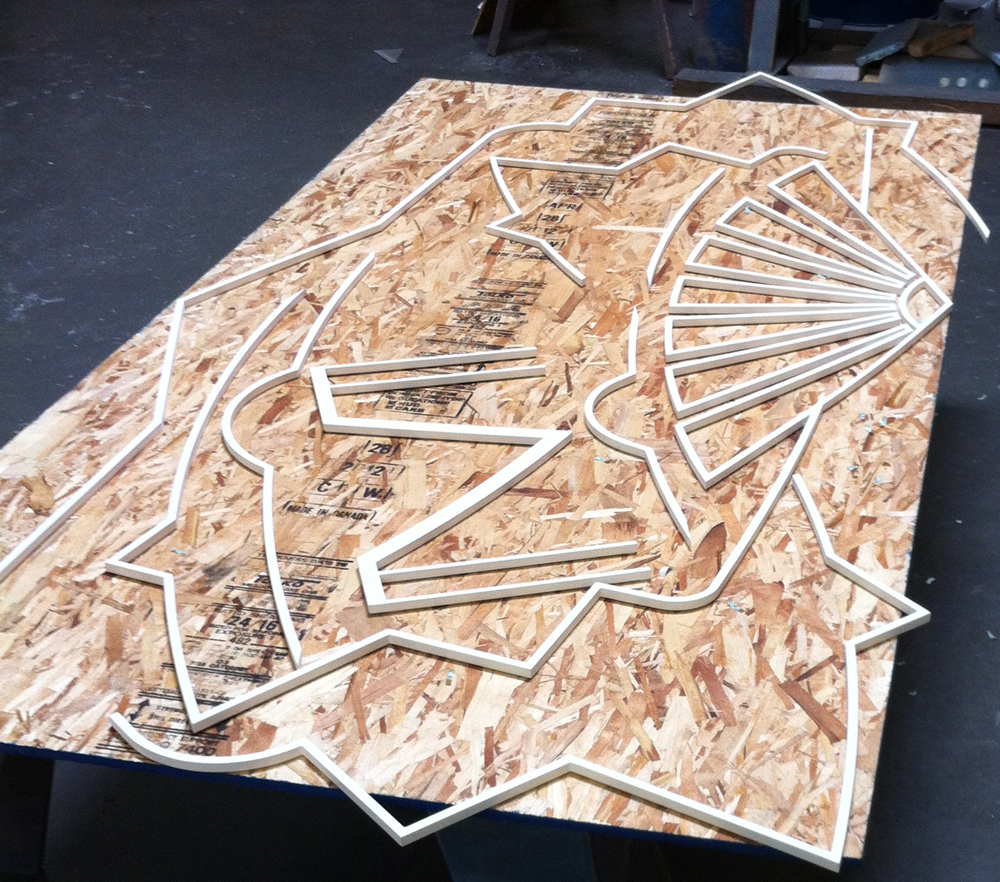
These are routed Sintra pieces that are applied to the sign face and perimeter details to help create dimension. The scale of the sign wasn’t large enough to form some of my details out of sheet metal, so this non-traditional material was used since the sign would only be used indoors:
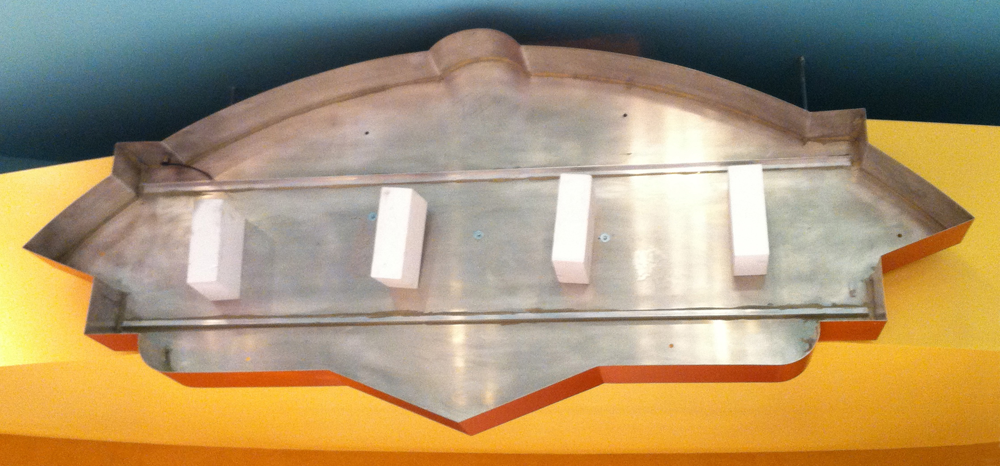
At the site, the final sign box is hung, awaiting it’s innards…
…which are finally placed in the box:
Robert designed and had fabricated side extensions for the marquee, nicely picking up some of the design elements of the sign graphic:
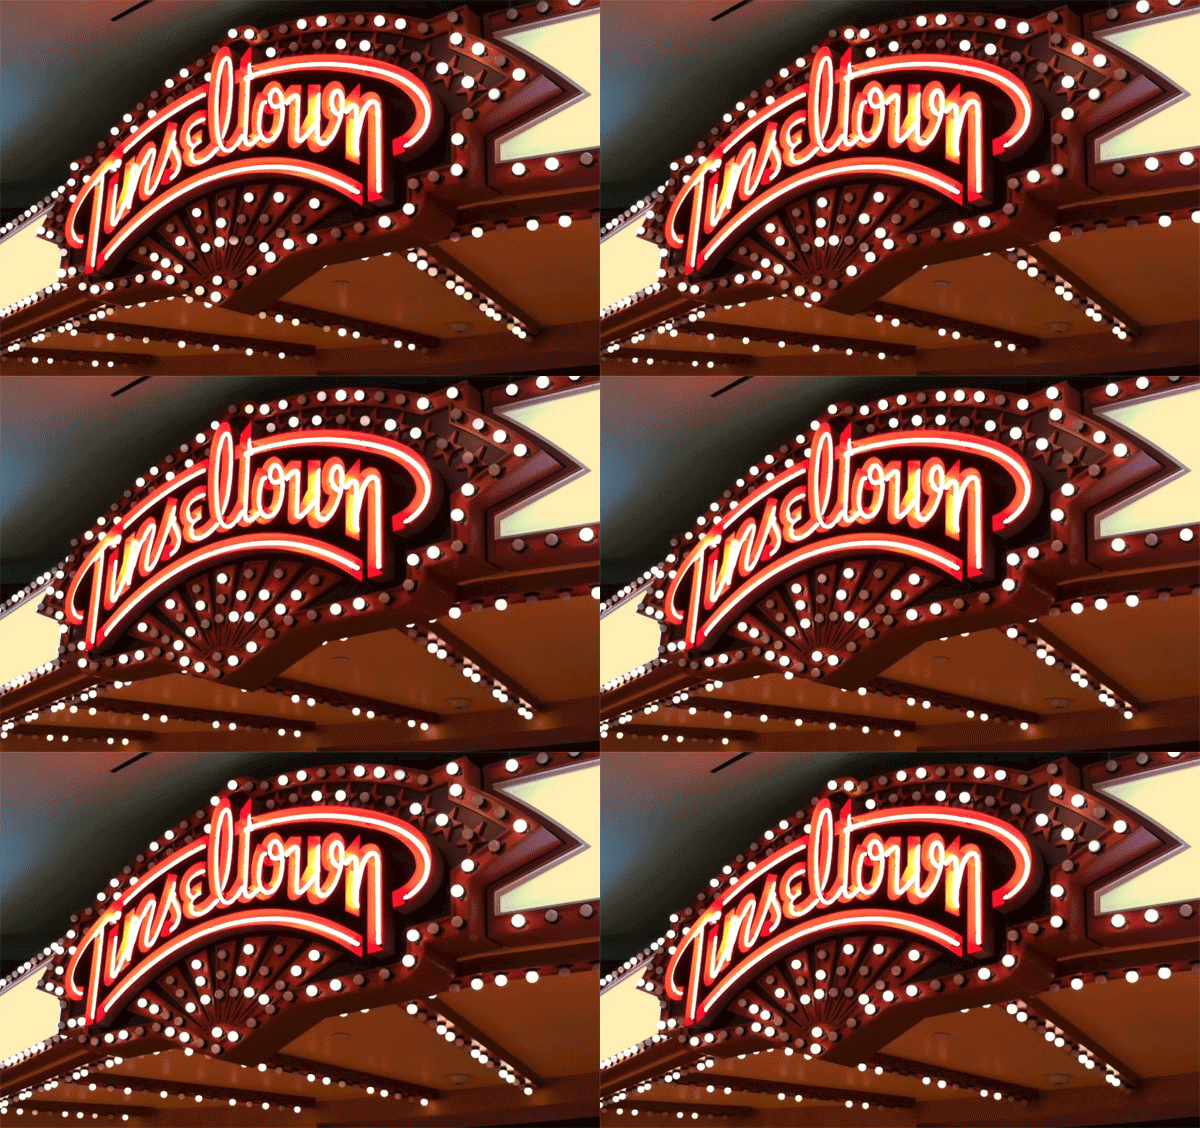
When the sign’s neon and chase lights are illuminated, its color appearance changes dramatically:
That’s all Folks. See you at Sweet!
5 Comments
RSS feed for comments on this post. TrackBack URI
Leave a comment
Powered by WordPress and Nifty Cube with Recetas theme design by Pablo Carnaghi.
Entries and comments feeds.
Valid XHTML and CSS.



Great to see your lettering in lights!
Comment by José Cruz — January 15, 2013 #
[…] […]
Pingback by Case Study – Vintage Neon Sign | Creative Online Journal by Emrah Akman — December 21, 2012 #
[…] […]
Pingback by Case Study – Vintage Neon Sign » Cycads Australia – Logo Design — December 20, 2012 #
my favorite post of yours yet.
i bet you were in hog heaven.
when i was young, old sign dudes referred to that type of metal work as ‘cake pan’.
good right?
Comment by norman — October 12, 2012 #
Fantastic, Michael! So exciting! Seeing the process of the drawing to vector to metal fabrication is great!
Comment by Steve — October 12, 2012 #